Exploring 2,000 years of history in a single English city.
York City Walls (St Mary's & St Leonard's)
The St Mary's and St Leonard's section of York City Walls covers the main city defences in the St Leonard's area, plus the defences for St Mary's Abbey.
The standing remains of York City Walls and St Mary's Abbey defences have been designated Scheduled Ancient Monuments and are Grade I listed.
From circa 1354 to the end of the 17th century, a wall ran parallel with the bank of the River Ouse from a point a few yards to the southwest of Tower A (which was part of St Mary's Abbey defences) towards Lendal Tower (which was part of the main city defences). However, all traces of this river-facing wallhad been completely removed by 1736, as recorded in the following contemporary account:
The foundations of the wall which faced and ran parallel with the river, were of late years dug up, which I my self saw run very deep in the ground, and all ashler stone. The stone was carried to build the Staith, or Key, on, which is now at Lendal-ferry. The kitchens and other offices of the abbey have been built near this wall; some vestiges of them do yet appear.
Source: Drake, F., Eboracum: History and Antiquities of the City of York (1736), p577.
General views of the Walls
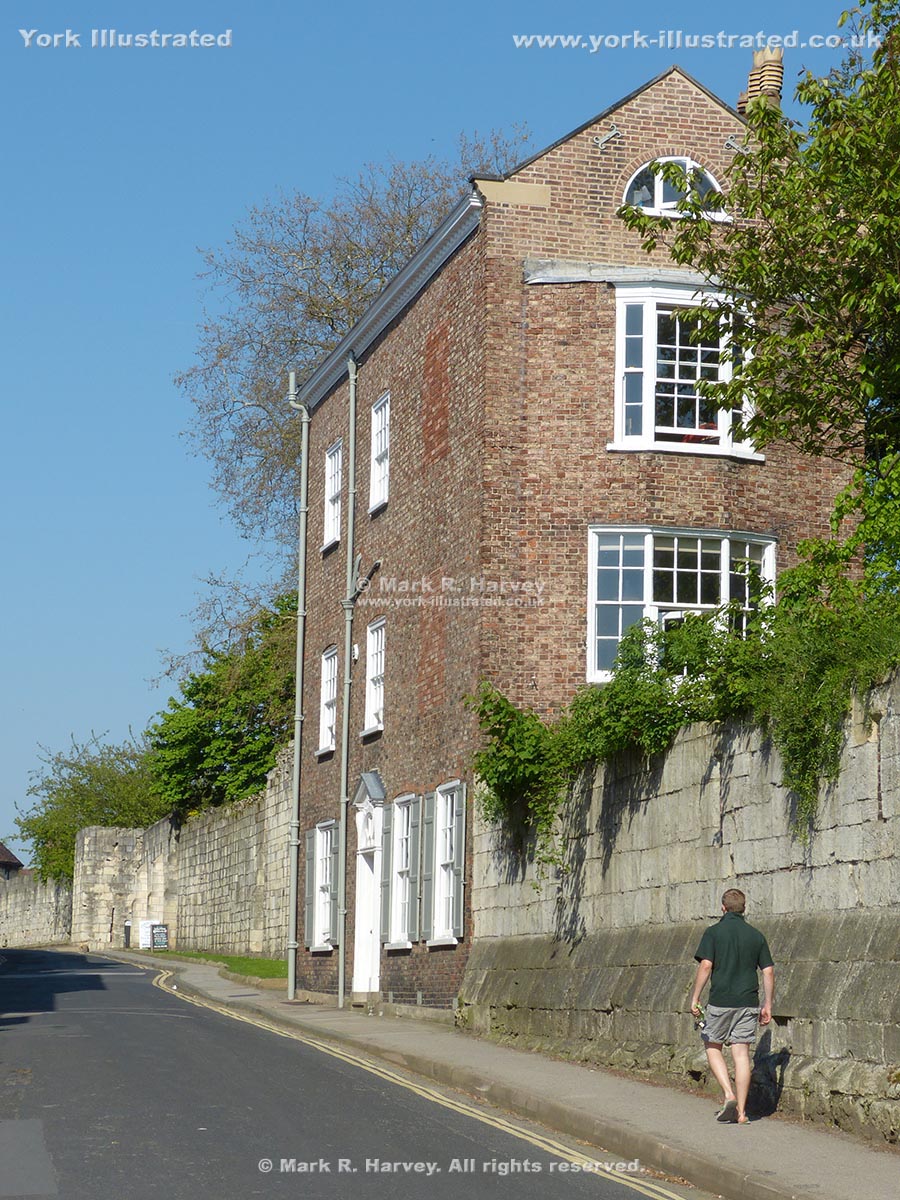
Image 1
The outer face of the defensive wall for St Mary's Abbey on either side of 29 Marygate. Interval Tower C is visible in the distance (left).
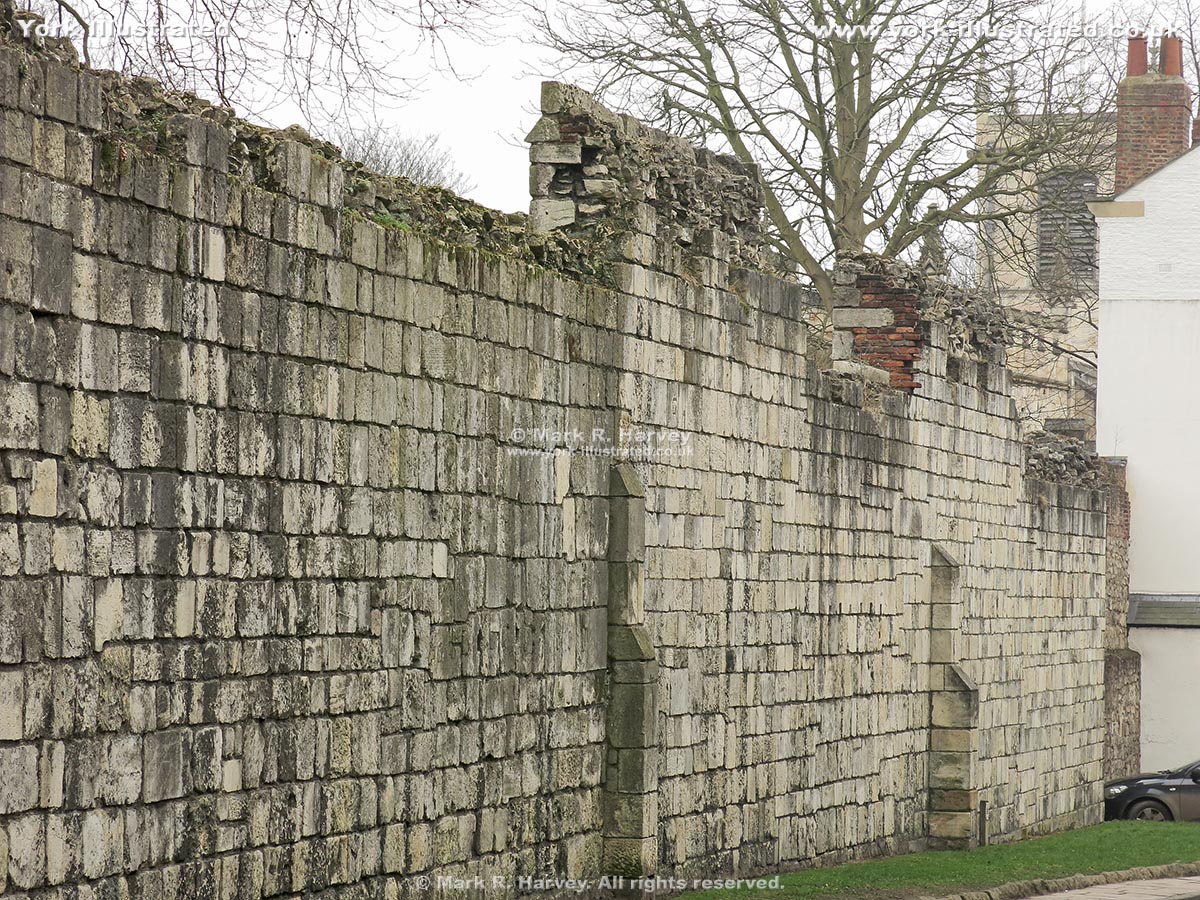
Image 2
Looking in the opposite direction, the outer face of the wall between Interval Tower C (out of shot, left) and 29 Marygate (extreme right). The top of St Olave's Church tower is partially visible above the wall (top-right)
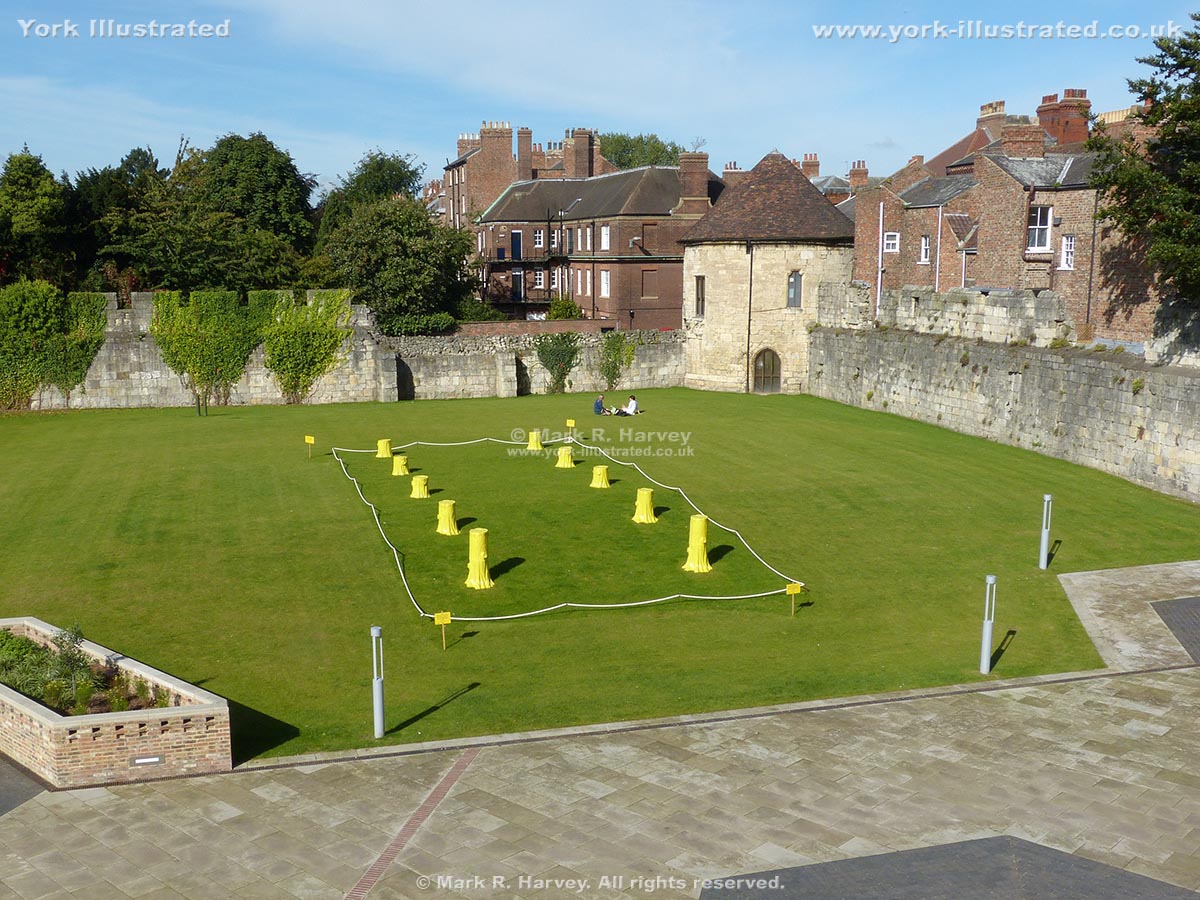
Image 3
The inner faces of the walls on either side of St Mary's Tower, with the Artist's Garden in the foreground. The two parallel rows of yellow tree stumps on the garden's lawn are associated with a temporary art installation in 2016 called "Foundation Myths".
Image 4
The inner face of the defensive wall for St Mary's Abbey between Interval Tower D (left) and the rear of York Art Gallery (right).
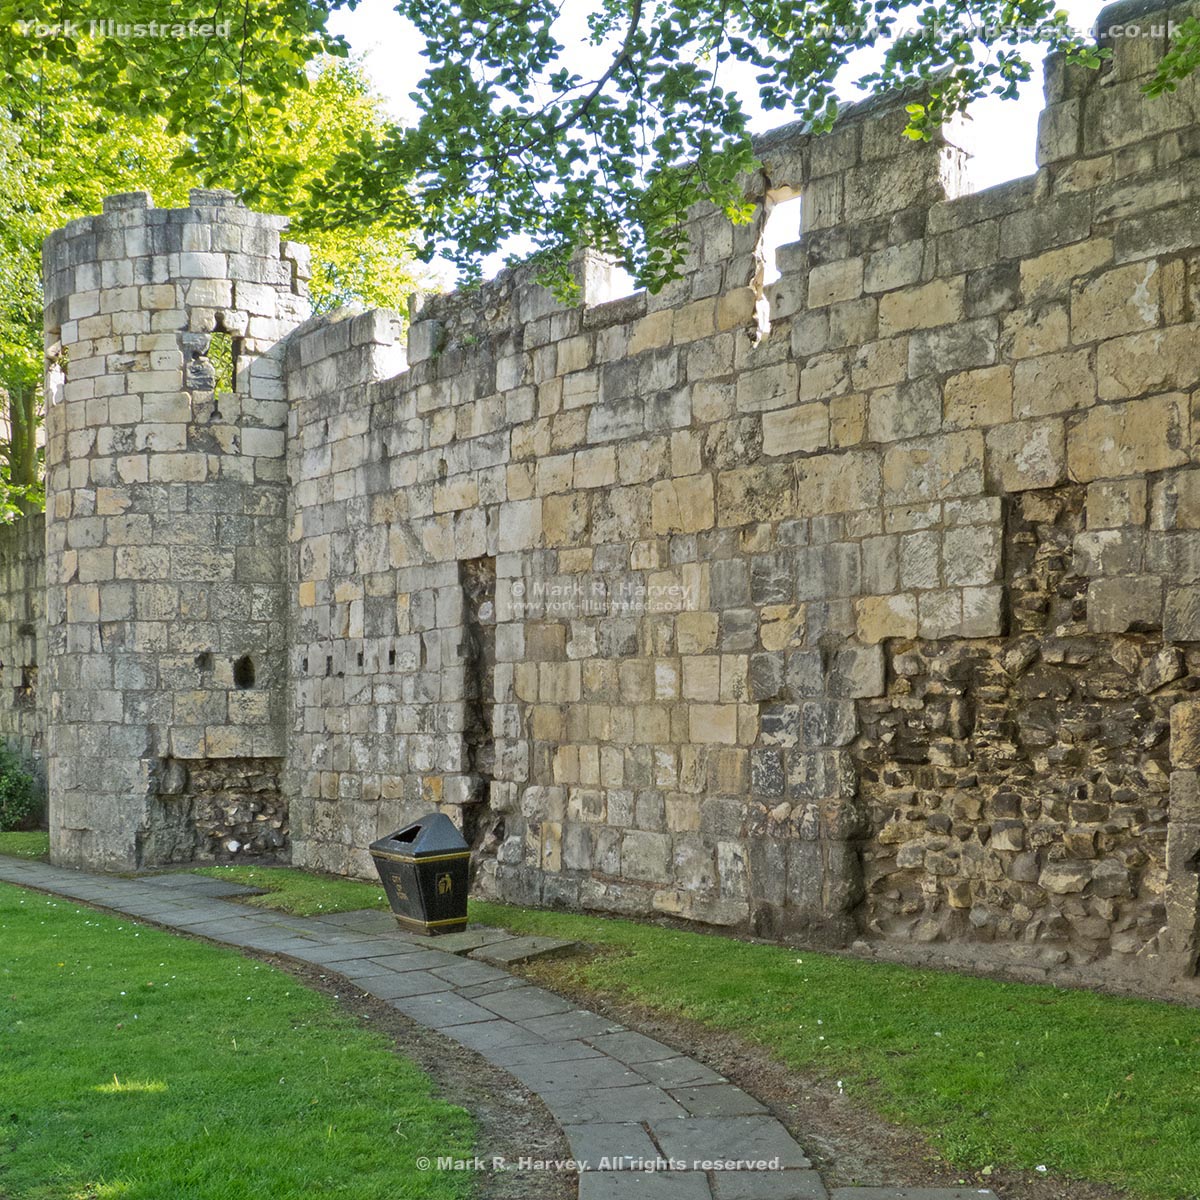
Image 5
The outer face of Interval Tower D (left) and the adjacent sections of the defensive wall for St Mary's Abbey.
Image 6
The inner face of the wall on either side of Interval Tower E (centre and top-centre). Interval Tower D is visible in the far distance (left of centre), partially obscurred by the side of the York Art Gallery building (extreme left).
Image 7
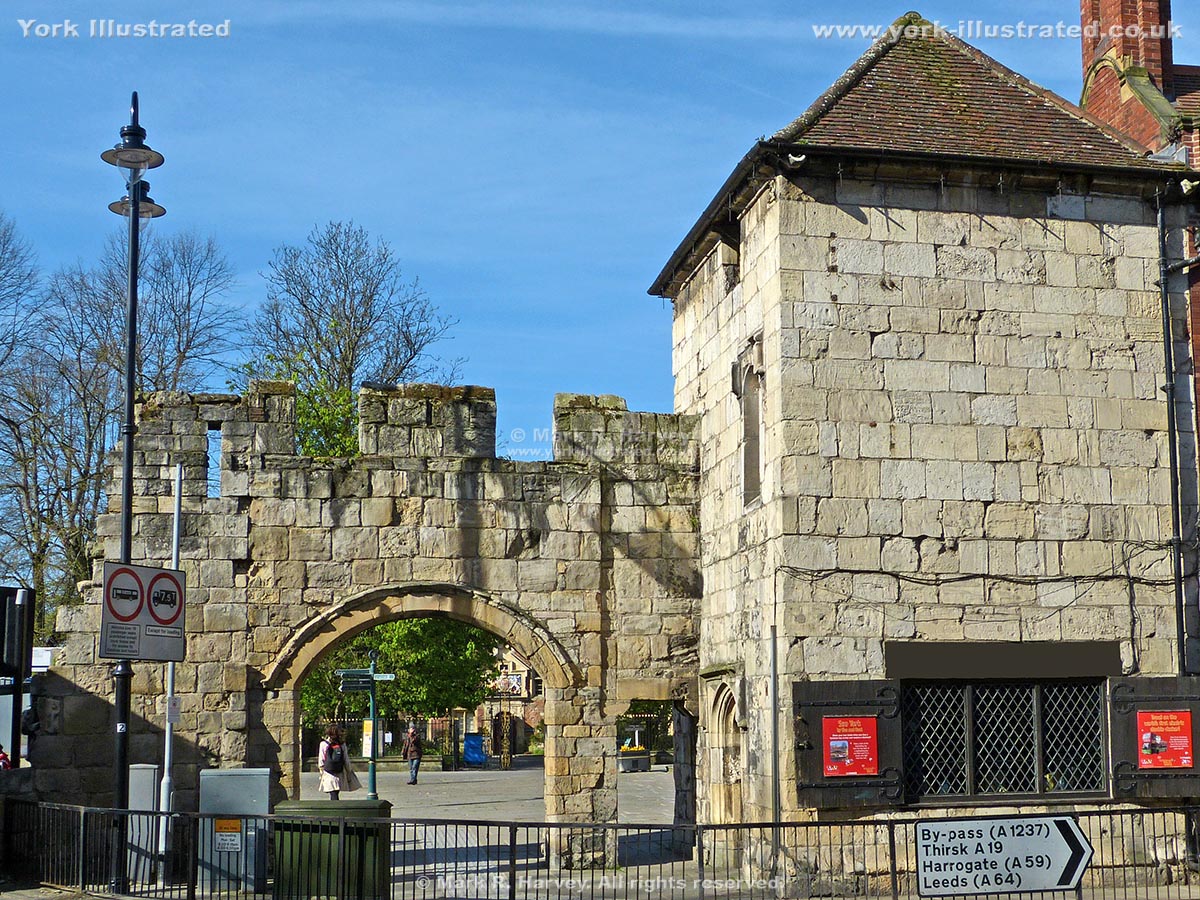
The defensive wall for St Mary's Abbey now ends rather abruptly and untidily (extreme left) beside Queen Margaret's Arch (left) and the adjacent Postern Tower (right). It originally extended right up to the main City Wall beside Bootham Bar. The missing section was demolished between 1834 and 1842 to facilitate the construction of St Leonard's Place.
Key locations associated with this section of the City's defences
To view a larger version of an image, click / tap on the image.
To view all available information and images for a location, click / tap on its title (place name) or 'Read More' button. (If a 'Read more' button is provided, a brief article is available.)
The approximate geographic positions of these locations are plotted on the interactive map at the bottom of this page.
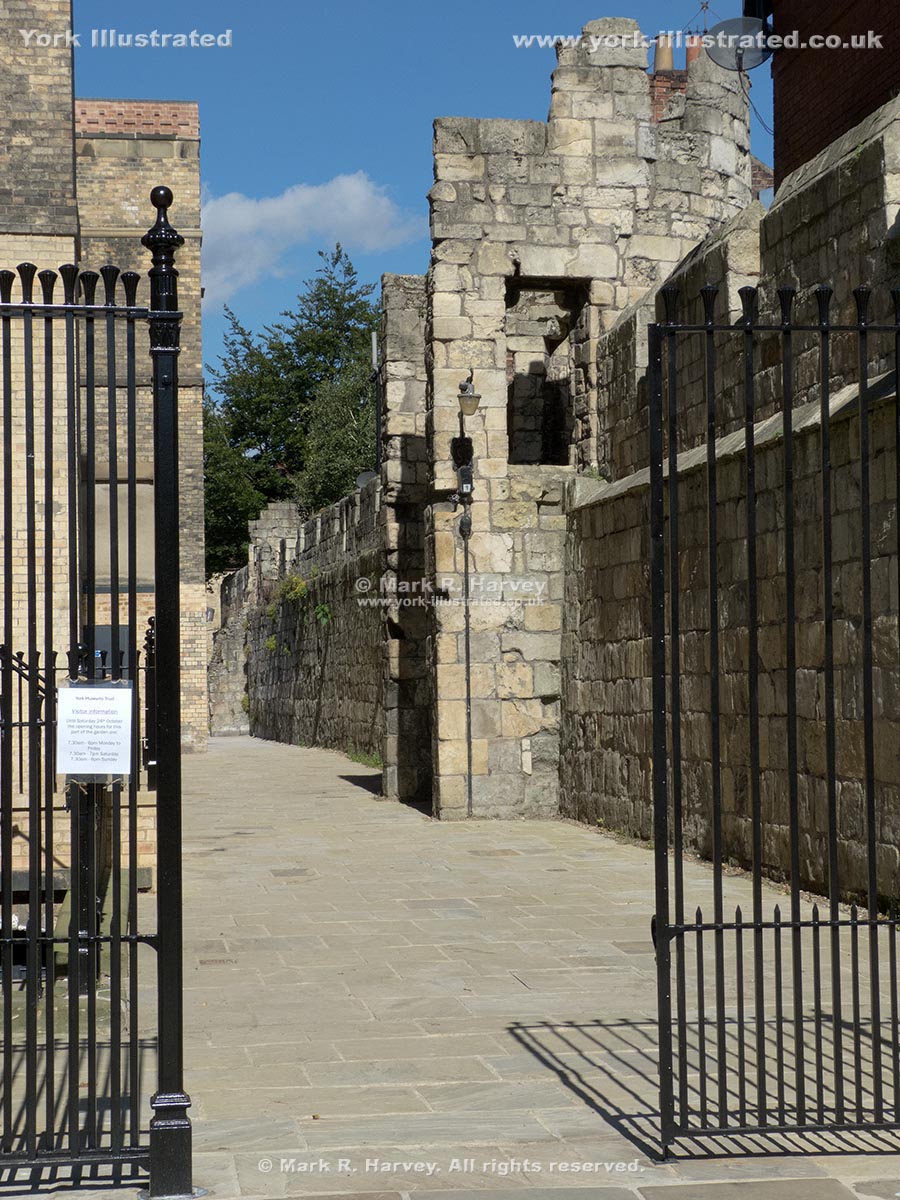
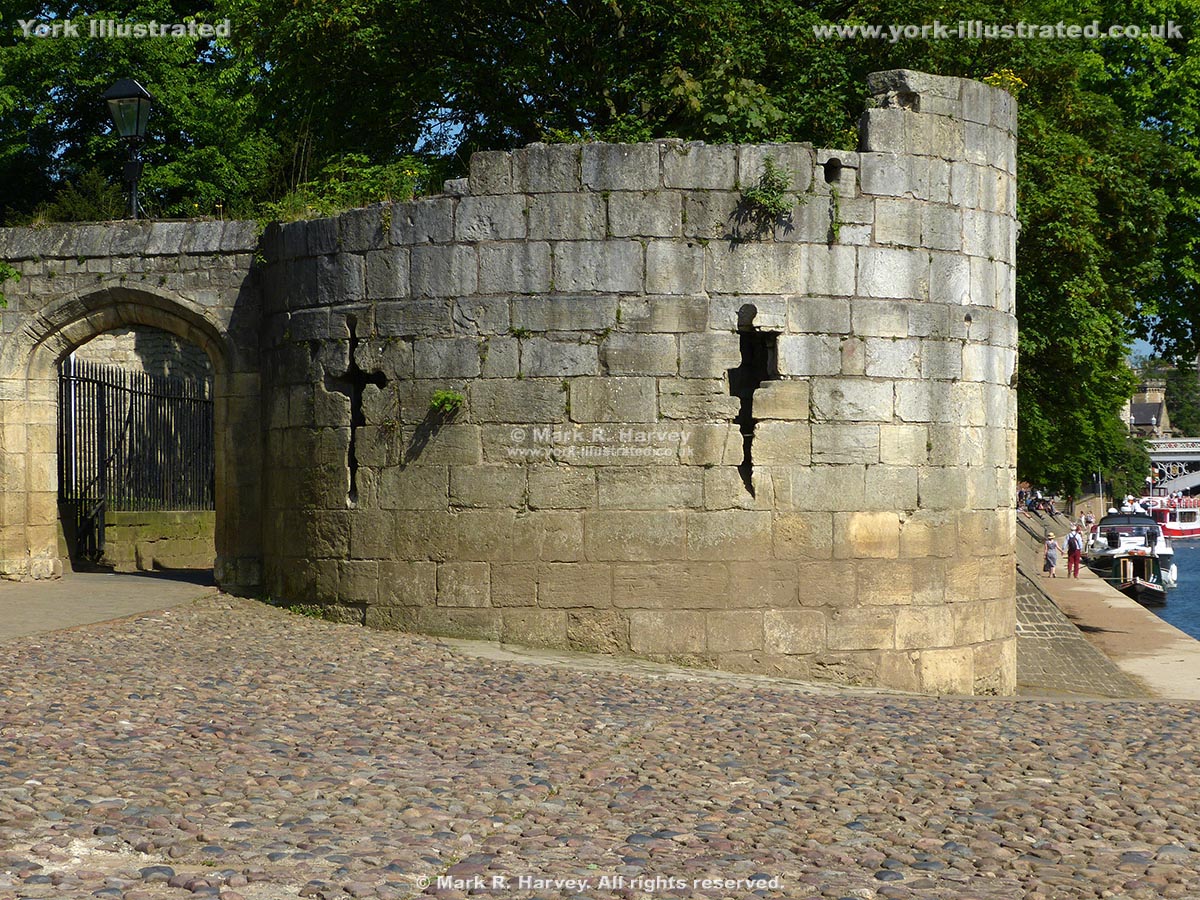
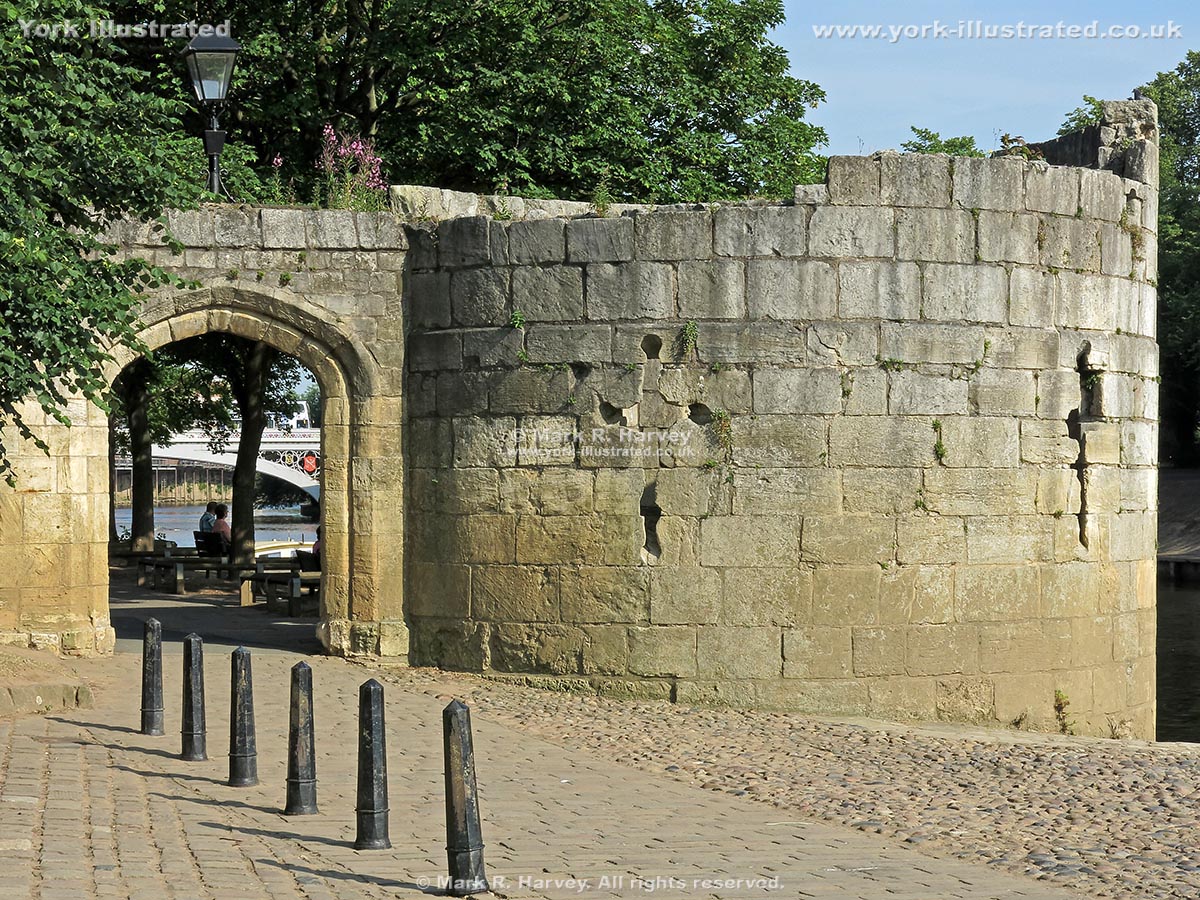
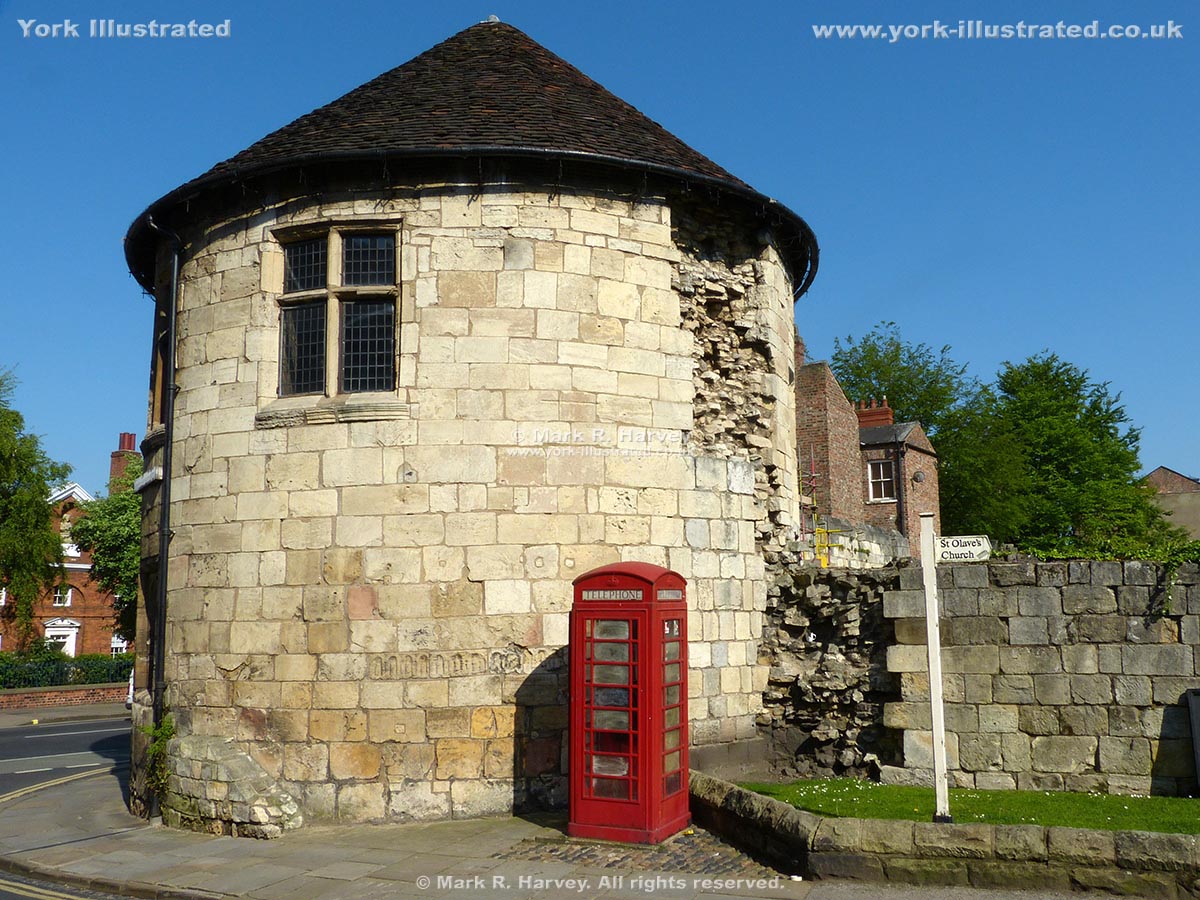
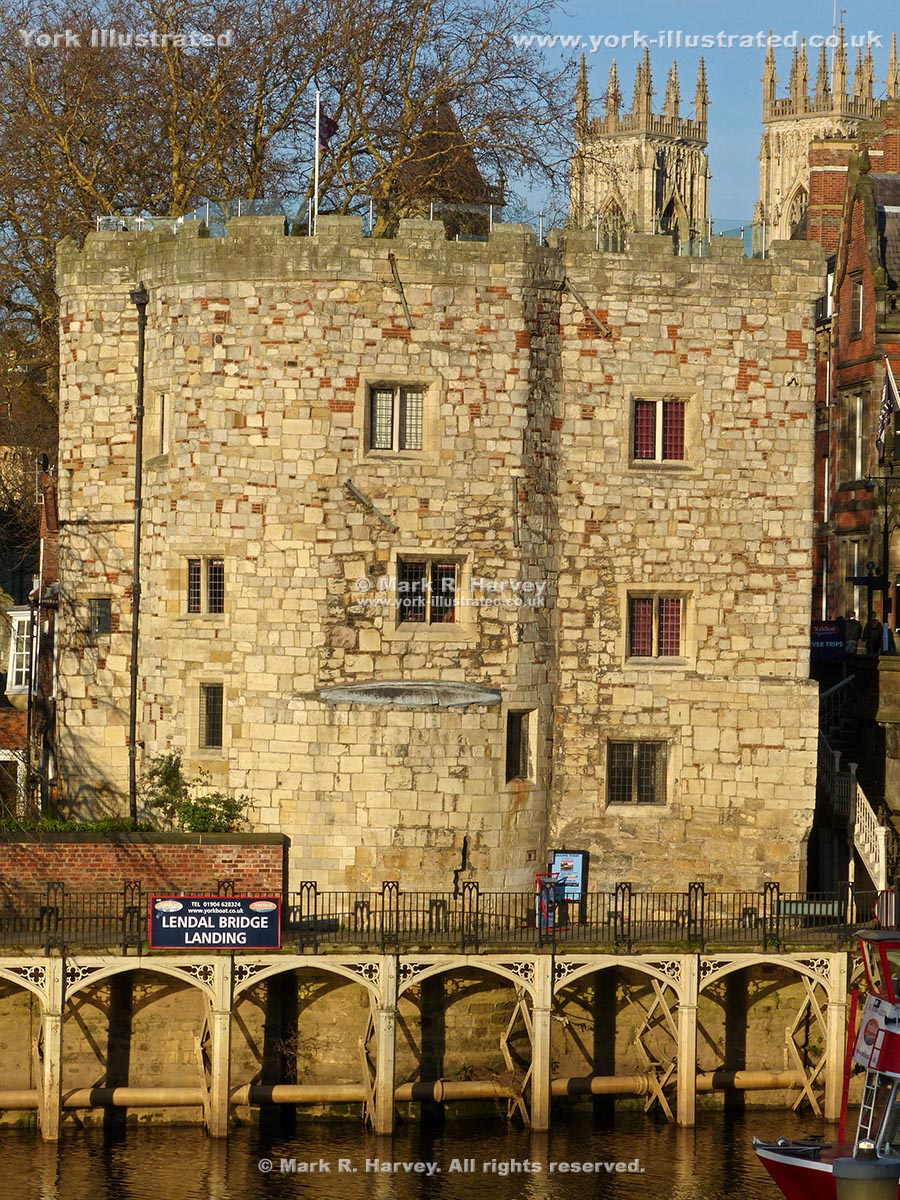
The Water Tower (aka Marygate Landing Tower) was built beside the River Ouse circa 1320 - 1324 during works to strengthen the defences of St Mary's Abbey.
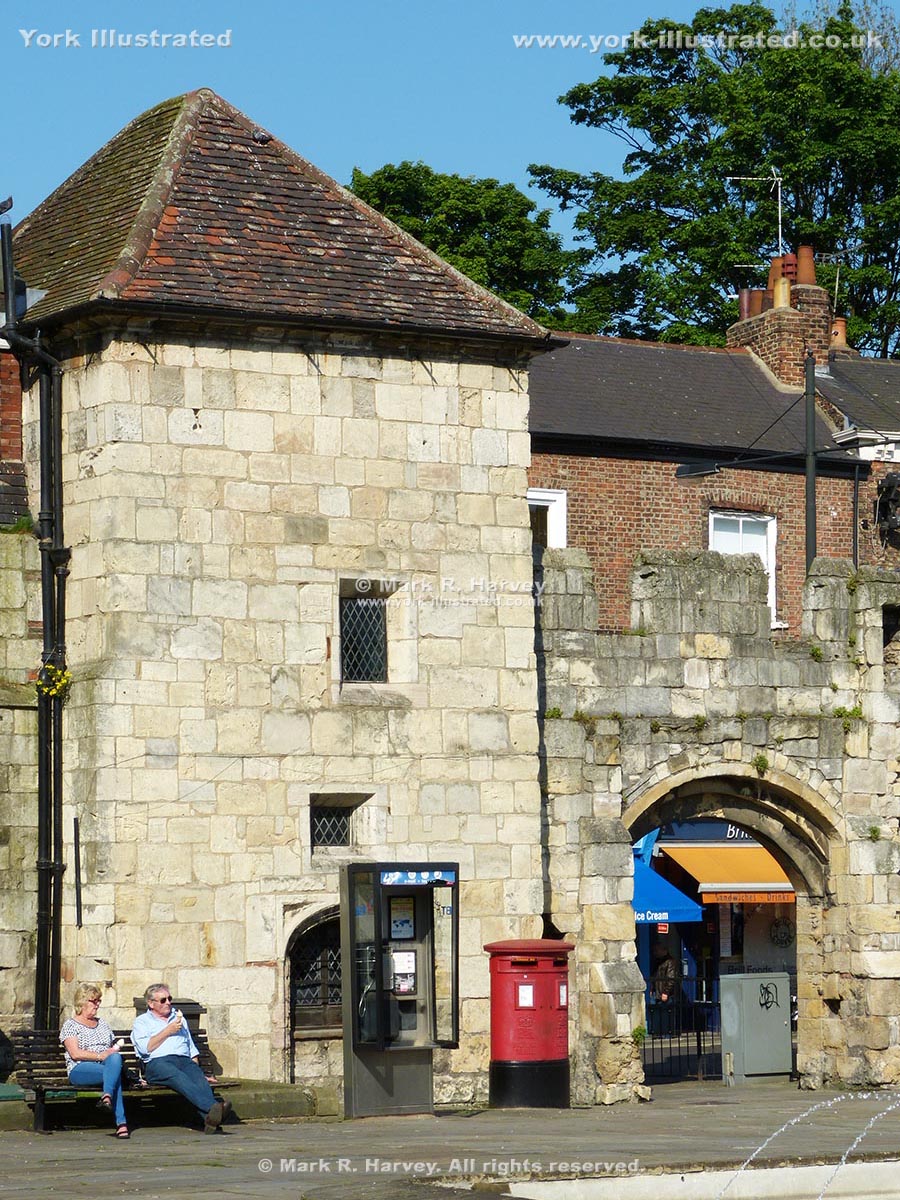
The pedestrian arch beside the Water Tower in York was inserted into the defensive wall of St Mary's Abbey in 1836 to facilitate construction of the Esplanade.
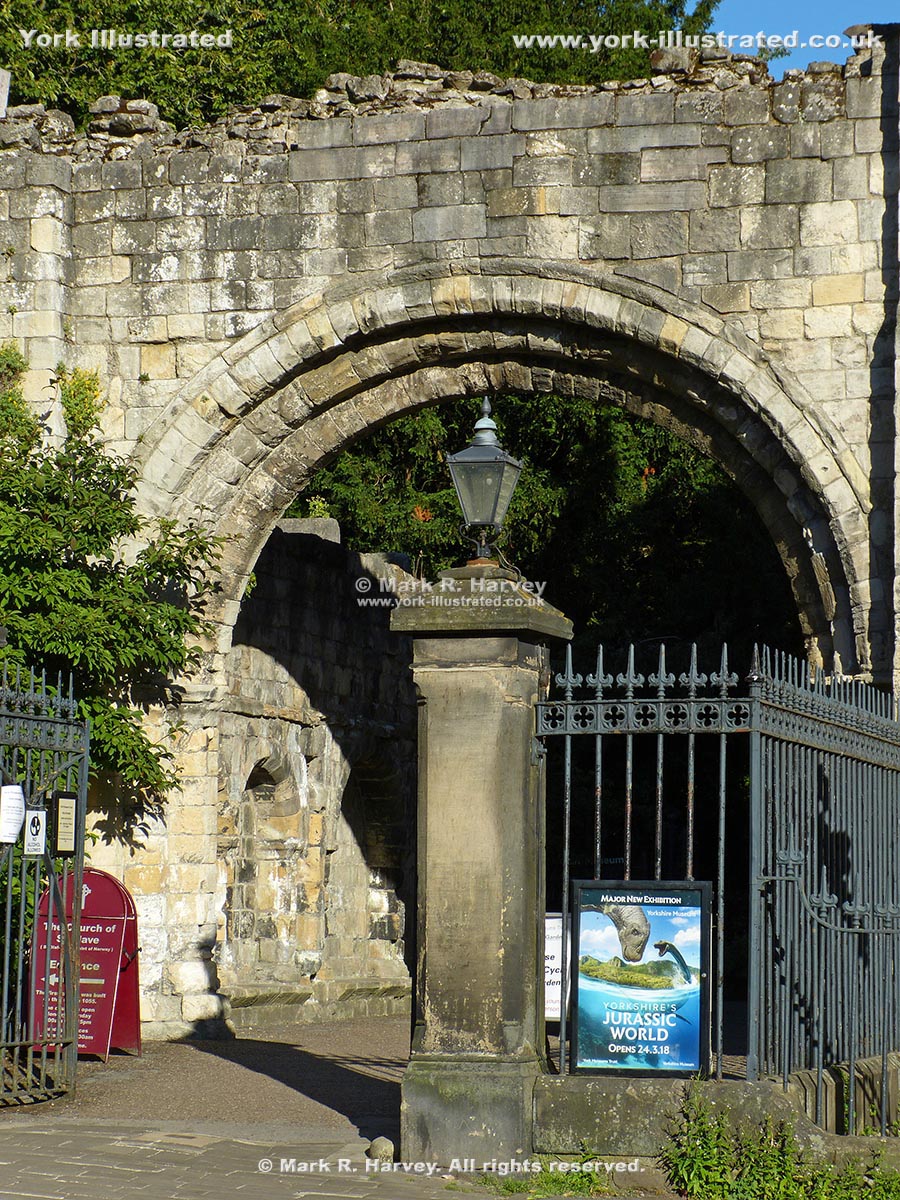
The external arch and adjoining side-walls are all that remains of the main gatehouse of St Mary's Abbey. The arch has been dated to the late 12th century.
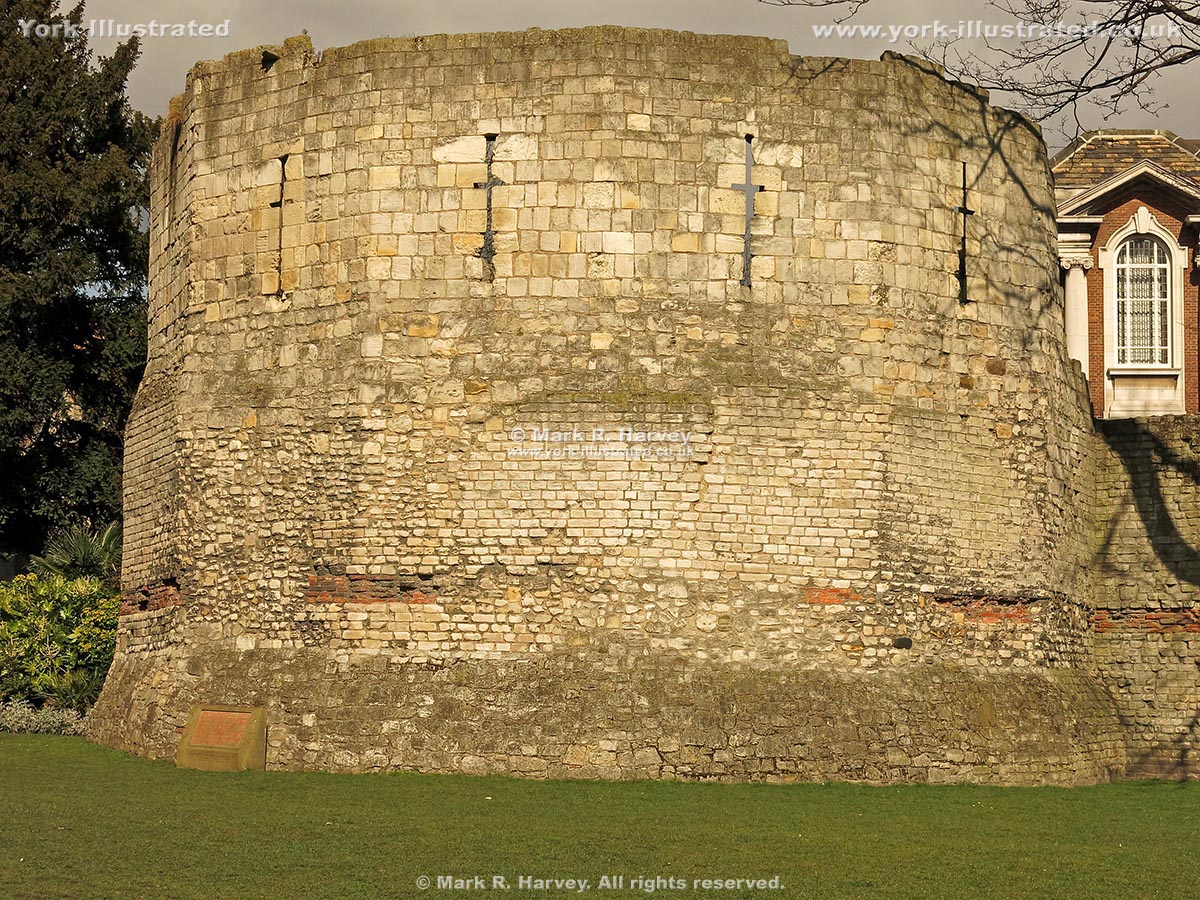
St Mary's Tower was built circa 1324. It was damaged during the Civil War, then partially repaired. The damage and the repairs are still evident today.
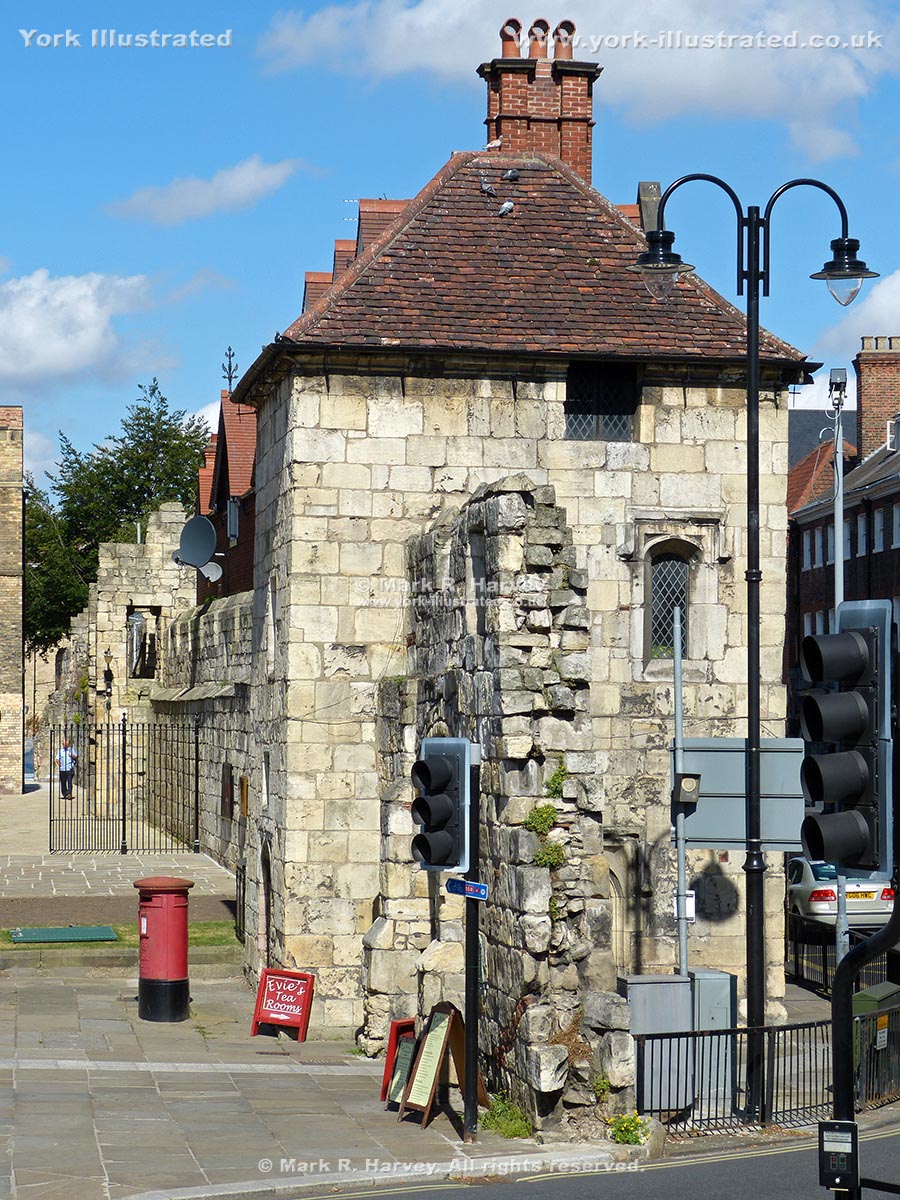
The rectangular Postern Tower (aka Bootham Tower) was built in 1497 to protect St Mary's Abbey and to control access via the adjacent postern (gateway).
Queen Margaret's Arch (aka Bootham Postern) was built in 1497 to provide a more convenient entrance for the Abbot’s house (now known as the King’s Manor).
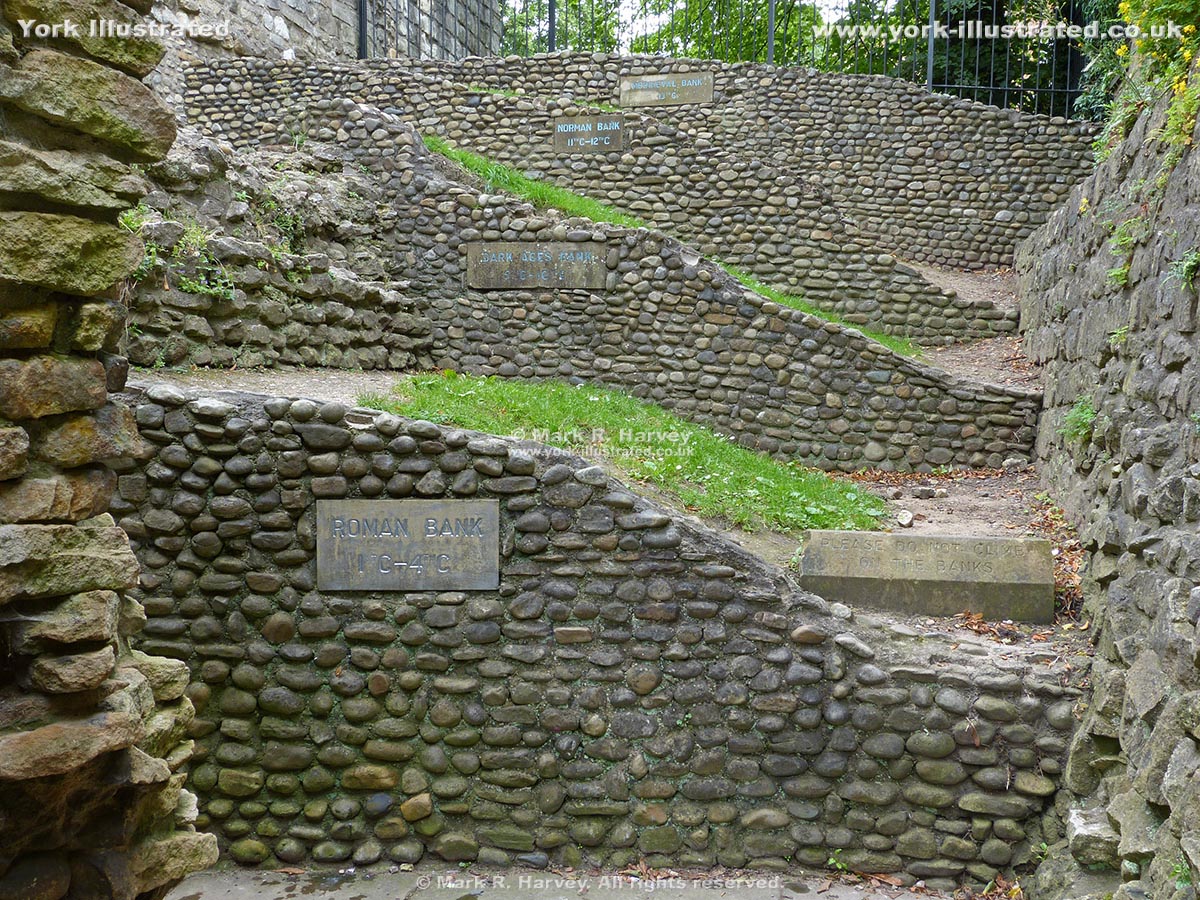
This set of four of cross-sections through the ramparts show how this section of the city's defences evolved over a period of more than thirteen centuries.
The maps and aerial imagery will only be displayed if Javascript is installed on your device and enabled for this domain.
The marker-positioning is approximate. (It can never be entirely accurate due to slight variations in the positioning of the map tiles across different map types and scales.)
To view brief details of a location in a small overlay window, click / tap on its marker.
To view all available information and images for a location, open its overlay window (as above), then click / tap on its title (place name) or 'Read More' button. (If a 'Read more' button is provided, a brief article is available.)
The layers button (top-right) can be used to switch between two street map layers and an aerial imagery layer. However, please note that interactive mapping makes heavy demands on the internet connection (to download and resize the maps). Page-loading times and data-usage can be kept to a minimum by using the street map layers (#1, esri-world_street_map layer and #2, esri-world_topo_map layer) rather than the aerial imagery layer (#3, esri-world_imagery layer).
 York Illustrated